Adding Actions to Elements
You can add actions to an element to navigate to another screen, proceed to the next step in your demo flow, visit an external URL, restart your demo, or add a pulse effect around an element.
Pulse Actions vs. Highlight Actions
In this article, we'll discuss Pulse Actions and Highlight Actions, and when to use each. It's important to note that using both types of actions simultaneously on one element causes them to overlap and can disrupt your demo flow. Therefore, only one type of action should be used on an element at a time.
Pulse Actions
What are Pulse Actions?
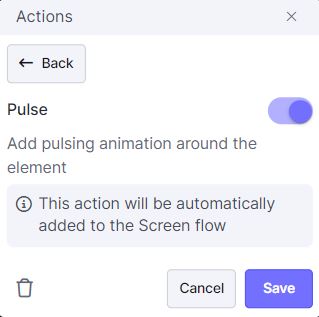
Pulse actions add a pulsing effect around an element to signal the next clickable item in your demo flow. To enable a pulse action, go to Advanced Options and toggle on the pulse feature. This will create a pulsing effect around the element, indicating to the user that they should click it to proceed to the next step in the demo.
When should I use Pulse Actions?
Use pulse actions to draw attention to the next step in your demo flow. They are ideal for guided demos, such as product tours or leave-behinds, ensuring your end user knows where to click next. Learn more here.
Highlight Actions

What are Highlight Actions?
Highlight actions provide a visual cue about clickable elements on the screen. Unlike pulse actions, highlights appear only when you click on dead space or press the Ctrl key. You can enable or disable action highlights in the Settings tab, and the highlight color will match the theme's pulse color.
When should I use Highlight Actions?
Highlight actions are useful for presenters during live, unguided demos. They offer visual cues about what comes next in the demo flow without adding a guiding or pulsing effect to the elements. This helps presenters, like Account Executives, maintain their demo flow smoothly. Learn more here.